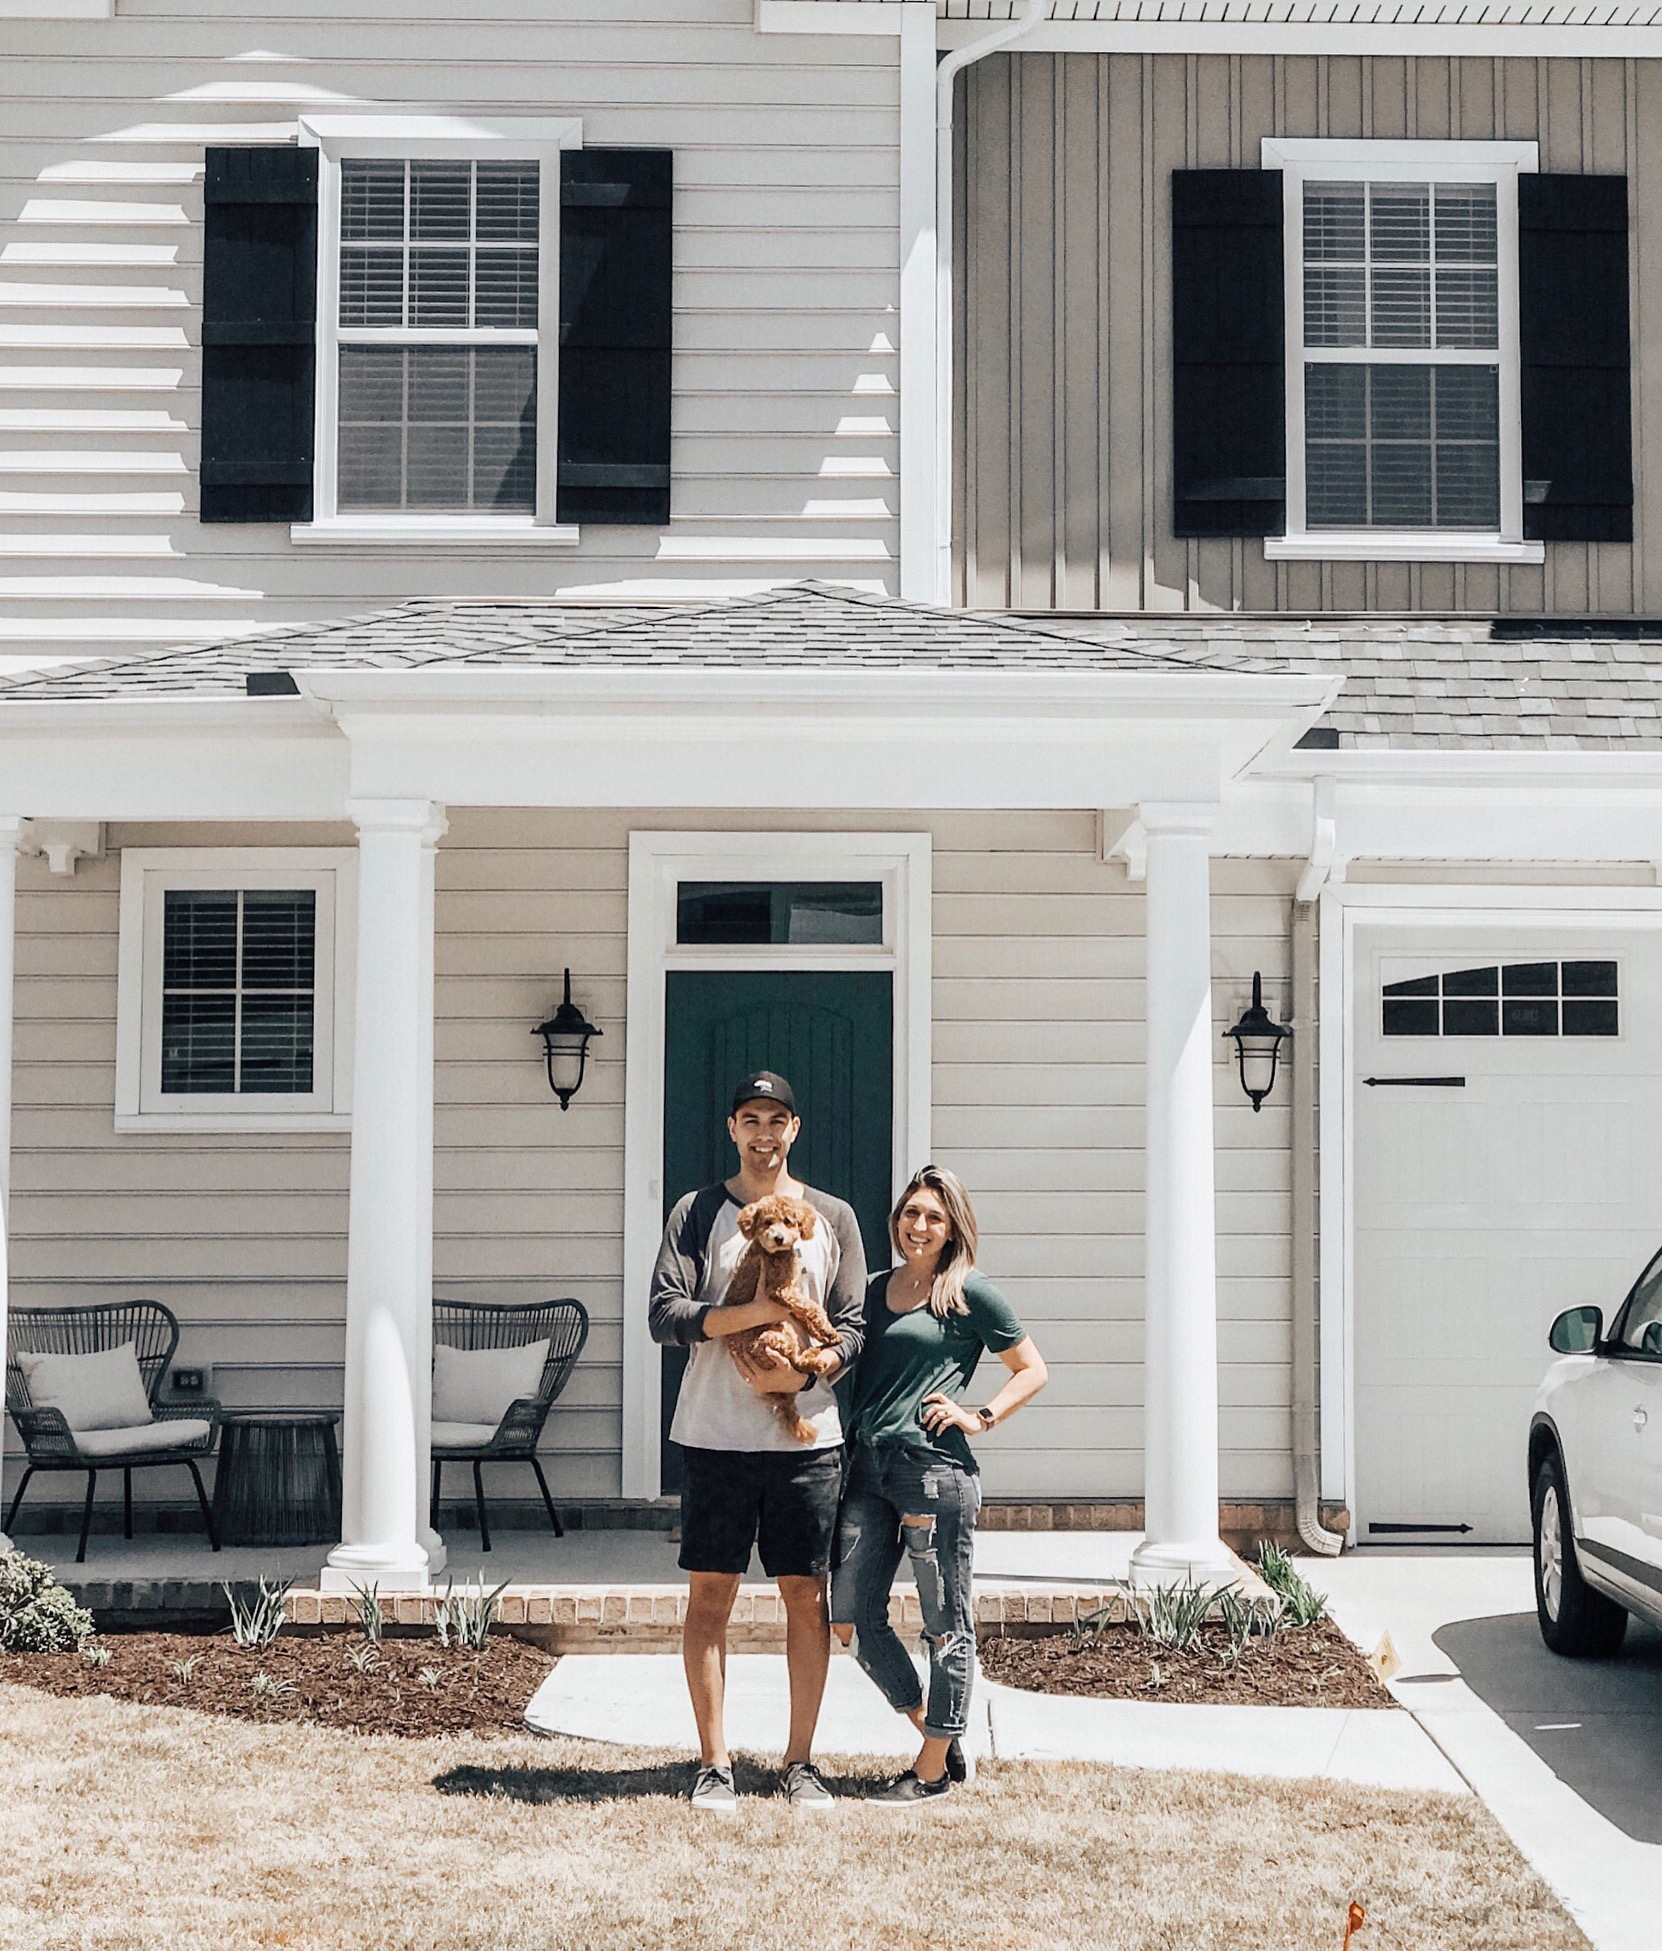
Although this is Connor and I’s first home together, in my twenty-some years I’ve moved about 13 times. A lot of this post has been inspired by my Mom (who always managed to seamlessly move our family), coworkers, and friends along the way who’ve offered insight.
Moving can be a nightmare, but it doesn’t have to be. As I have learned my fair share from experience, I wanted to offer some tips for preparing, moving and getting settled into your new home in case it’s on the horizon for you, too. Also coming soon: the more fun (but arguably still stressful) things like picking paint colors, choosing furniture, and the whole lot.
So without an unnecessarily lengthy intro, let’s get into it!
FIRST THINGS FIRST
01 – CREATE A FURNITURE OUTLINE – Once your offer is accepted and you’re not far from closing on the new home, create a furniture outline for it. Write out what you currently have and what room you think it will go in in the new house – just the big things. This makes it MUCH easier the day of the move – you’ll be able to have everything placed in the right spot the first time!
For Example – I wrote in a notebook things like:
Foyer – Console Table, Faux Snake Plant, Tan Rug
Living Room – Navy Couch, Coffee Table, (2) Side Tables, (2) Plants, *Get New Rug
…etc. This both made me feel better about what we already had and identified a few ‘holes’ we’d need to buy for.
02 – CREATE A WANTS/NEEDS LIST – Now that you have a rough idea of what’s covered, you probably have a wish list that’s quickly piling. We created a Google Sheet that prioritized everything into two groups – wants and needs. Then we created two columns – a budgeted cost, and then an actual cost to fill in once it had been purchased. The third column was for details or ideas of where to purchase it, etc. This helps show you the big picture and ensure you’re investing in the most important items first.
03 – BUY BOXES – EARLY – I kept holding off on buying boxes not wanting to ‘jinx’ anything, but honestly, that only added stress the weekend leading up to our closing. We made multiple trips to get boxes because I was always underestimating how much we needed. You can buy them at UHAUL, Walmart, local hardware stores, etc. And most of them will let you return what you don’t use so you don’t have to worry about over-buying. You could also seek out local retailers that get frequent new product shipments and ask if you could take them off their hands, instead of just throwing them out! (Heyyy, lululemon. 😉 )
04 – HIRE MOVERS – So, I go back and forth with this one because it really just depends. We chose to rent a UHAUL and hire moving labor ‘a la carte’ at the end of the check-out process on uhaul.com. We hired 3 men for 3 hours from a local company that had 5-star ratings. Well, we did NOT have a 5-star experience with them and ended up having to call in my family to help with the move in somewhat of a panic – exactly what I didn’t want to have to rely on! We made it work and got everything in, but next time I think we’ll be sure to factor in additional moving costs and hire the big guns instead of trying to save a buck with it! Legit movers can be worth it.
I do have coworkers and friends who fared great with this route though, and again, we definitely saved a ton of money doing it the way that we did. Maybe just try to better verify the company of the labor you choose to go with. I’m not going to mention ours here, but we would not use them again. That being said, the UHAUL was a good experience. Connor drove that thing like a champ!
05 – LEVERAGE PINTEREST – This may sound super obvious & cosmetic when you have a million other things to worry about at this stage, BUT gathering décor ideas and getting a clear picture of what aesthetic you want to create in the new home will help prevent things feeling disconnected. Pay attention to paint colors, styles, and start envisioning how it would work in your new space. Keep this in mind when tackling your wants/needs list and get rid of anything you don’t love or find useful. Be mindful of it when making purchases and ask yourself if it’s adding to your overall ‘goal’ aesthetic. I’m ALL about a good bargain, but sometimes it is better to wait than sacrifice what you love (and what will actually last!).
06 – PACK YOUR BOXES WITH PURPOSE – When you go to start packing, start with a room like an office or spare closets. Start packing up the things you use the least, first. Then progress, room by room, throughout the house, leaving the kitchen and your bedroom/bathroom items for last. While packing, be sure to have:
a) a tape gun
b) strong packing tape
c) a large sharpie
d) packing paper
Fill smaller boxes with heavier items like books. Use larger boxes for lighter items like pillows, bedding, linens, etc. It’s easy to overstuff a box and before you know it, you’ll be slowing down the movers because your boxes weigh tons.
As you finish packing a box, tape it shut and use your sharpie to write:
a) the room it’s going in
b) the number
c) a short description of the contents
I also chose to write everything down on a piece of paper. Numbering them and recording them on a separate sheet gives you an idea of how many boxes you have for each room, and if something goes missing, you’ll know what it is and what was in it.
Use plenty of packing paper & other insulation for fragile items like kitchen glassware. Stack everything smartly and don’t forget to write “FRAGILE”!
07 – PACK A SUITCASE & A BOX OF CLEANING SUPPLIES – The suitcase is nice so you immediately have a change of clothes and all your toiletries, without having to frantically go searching for your essentials at the end of a long day. In your box of cleaning supplies, you’ll want to pack things like toilet paper, paper towels, a few rags, a kitchen sponge, some Pledge, and I’d even leave your vacuum out to the side. It will come in handy!
I also like to keep things like delicate jewelry, lamp shades, and other easily broken or lost items in the car with me. If you have time, pack up a cooler with a few drinks, maybe a couple beers, too. (You’re going to want it!) 🙂
08 – TAKE A DAY OR HALF DAY OFF WORK – Don’t forget to request the day and maybe even a half day beforehand for your move. You will be much less stressed and more available to do all last minute packing and coordination. Also – call to confirm the time/date with your movers and get excited about your closing!
09 – MOVING DAY – Congrats on closing and making it to moving day! When the movers arrive at your new home with a truckload of your stuff (or you drive-up your UHAUL), be sure you’re available to help direct anyone who’s helping you with where everything is going. You can even throw some signs on each door/room so everyone knows what’s what.
Once the pandemonium has subsided and everything is moved in, I’d start on your kitchen first. You’ll want to get that in working order – or at least be able to grab a few plates or utensils as soon as possible. If you have kids, work on their rooms next – mainly getting their beds up. Then proceed to your master bedroom so you have somewhere to sleep that evening.
If the day is still young – work on things like the living room, bathroom shower curtains, and any other must-haves. Then stop and take a deep breath. You made it!
10 – END THE DAY BY ORDERING PIZZA & HAVING A DRINK – Is there any other way?
And a huge thank you to our own moving “team” – my Dad, Brad Hiltz (& our realtor!) for his guidance through the whole process. If you need one in the Virginia Beach/Hampton Roads area, he’s a great one. Also to my mom who helped me fully unpack said kitchen, arrange all the furniture, and brought the cooler full of beer & ordered pizza at the end of the night. 🙂 And to my brother-in-law, Dean, for dropping what he was doing to come right over to help with some of the heavy lifting/moving. And to my sister, Liz, for watching the girls so he could, and then coming over in the morning with arms full of Panera breakfast, and a heart ready to help. We couldn’t have done it without you all!
Lastly, once you get internet and are feeling even mildly settled, remember to do things like:
ASAP:
-Change your address with USPS online
-Change your address with DMV (or your local car/driver registration) – also can be done online
-Change all billing addresses on all your banking websites
-Change your address at work/with your direct deposit
-Register any new appliance warranties, etc.
-Do a walkthrough of your house looking for any damages or items that need to be fixed or replaced
When You Can:
-Send out your new address to family & friends
-Order new return address labels/stamps
-Host a housewarming! (*We’re still working on these ones, too!) 😉
That’s a wrap! What did I miss? Was this helpful? Let me know in the comments below!
x, Kaitlyn


Read the Comments +